
Hosting a Episerver site in IIS | Episerver for beginners
 By - Ravindra Rathore
Hi Guys,
In today’s post, I will describe how to host an Episerver site in the IIS. In my last post, I have created two solutions one is blank site and one Alloy site so I am using the alloy site for this blog post.
First of all, you have to attach the Episerver databases in SQL server. Follow the article here .
FYI – The .mdf file exists inside the “App_Data” folder of your solution.
Once you are done with the database attach process you need to update the connection of your project so open the web.config file of your project and find and update the connectionString.
<add name="EPiServerDB" connectionString="Data Source=" YOUR SQL SERVER";Initial Catalog=EPiServerDB_a7a05e67;Integrated Security=False;User ID=USERID;Password =PASSWORD;MultipleActiveResultSets =True" providerName="System.Data.SqlClient" />
To host a site you need to follow the below steps-
- Add the site entry in the host file and to do this you need to go to the following path – “C:\Windows\System32\drivers\etc“
- Open the “Host” file in a text editor and add a new entry at the end of your host file- 127.0.0.1 alloy.local and save the file.
- Now go to your IIS(by start button or by typing the inetmgr in command prompt).
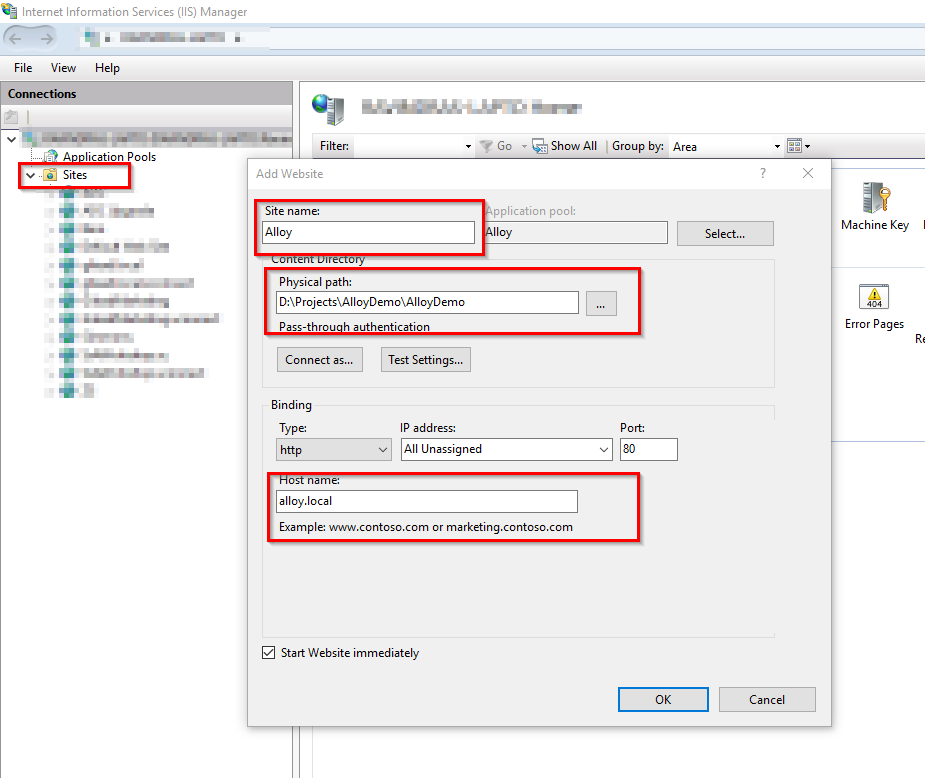
- In the left section, Right-click on the “Sites” and click “Add Website“.
- Fill all the fields like- Site name(give a name), Physical path(this is the path of your alloy website physical folder) and Host name(alloy.local)
- Then click “Ok”.
- Now open the “Alloy” solution in the visual studio and run it(F5/Ctrl+F5).
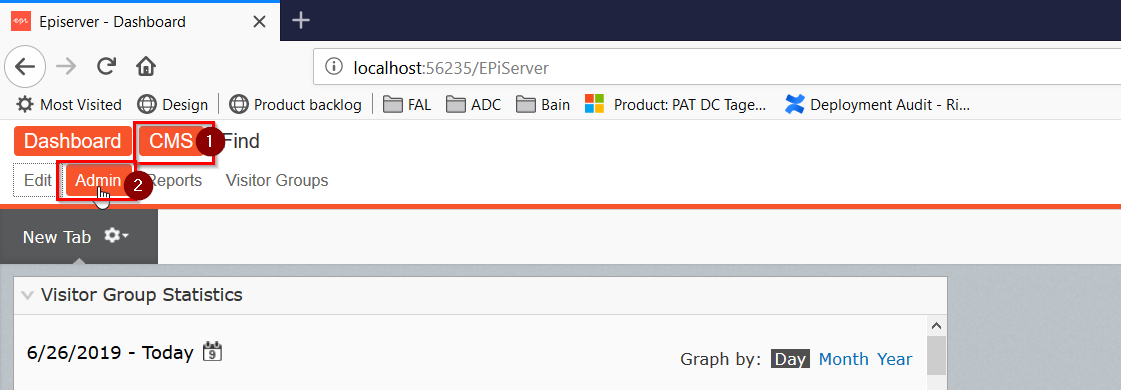
- Once site is opened in the browser just login into the Episerver CMS using “/episerver” after the site URL(http://localhost:56235/EPiServer)
- Enter your credentials and press enter.
- Now click on the “CMS” and then “Admin“.
- Once the admin panel is open.
- Click on the “Config” and then click on the “Manage Websites”.
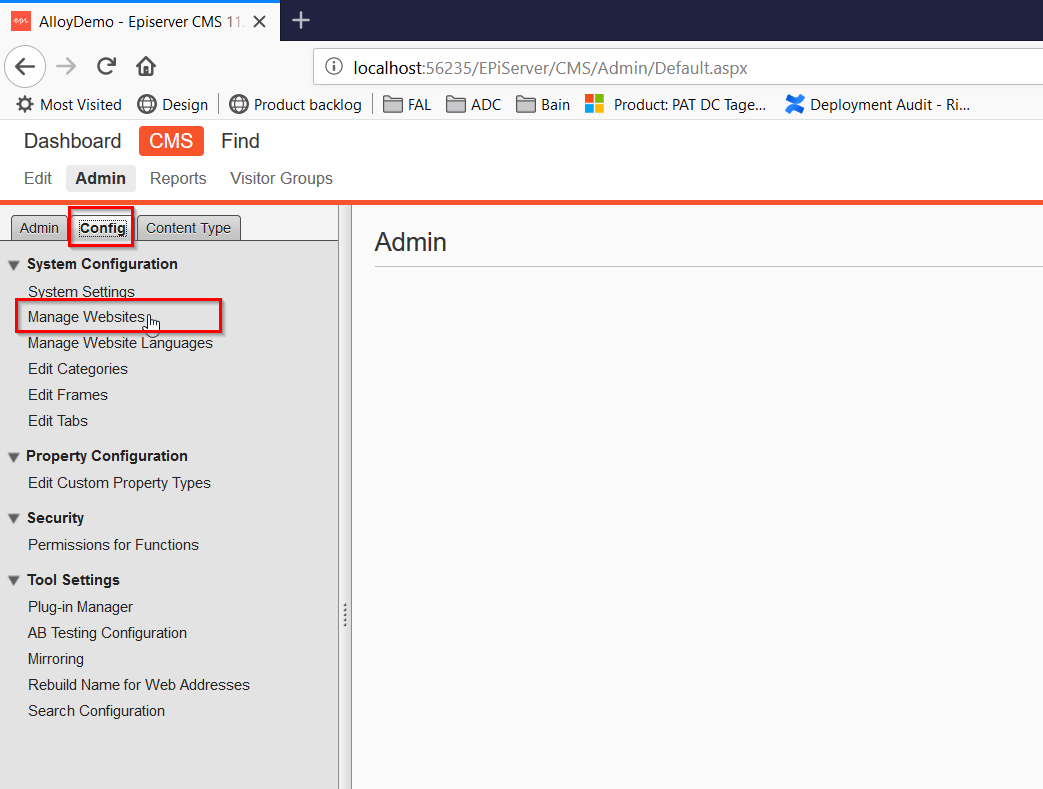
- Now click on the “Add Site” button.
- It will give the following screen.
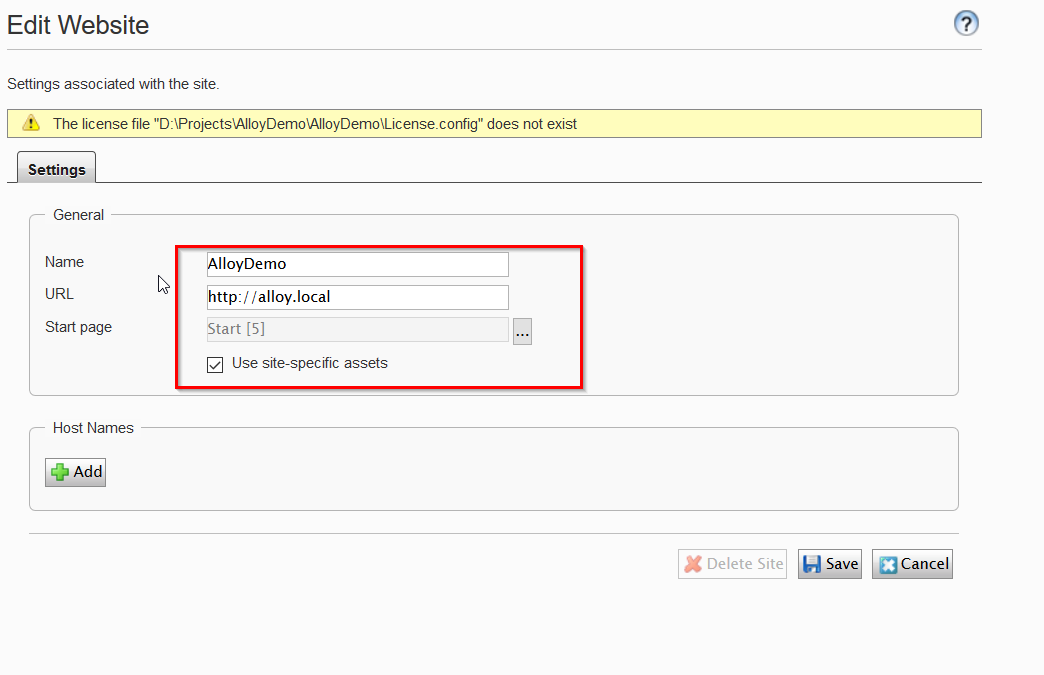
- Please fill below properties-
- Name – Give any name like – AlloyDemo
- URL- Put the same URL that you added in the host file like – http://alloy.local
- Start page – It is used for selecting the start item of your website. Click on the 3 dots and select the “Start” page item.
- Use site-specific assets – It will enable a folder “For This Site” in the CMS so that content author can upload the site specific assets.
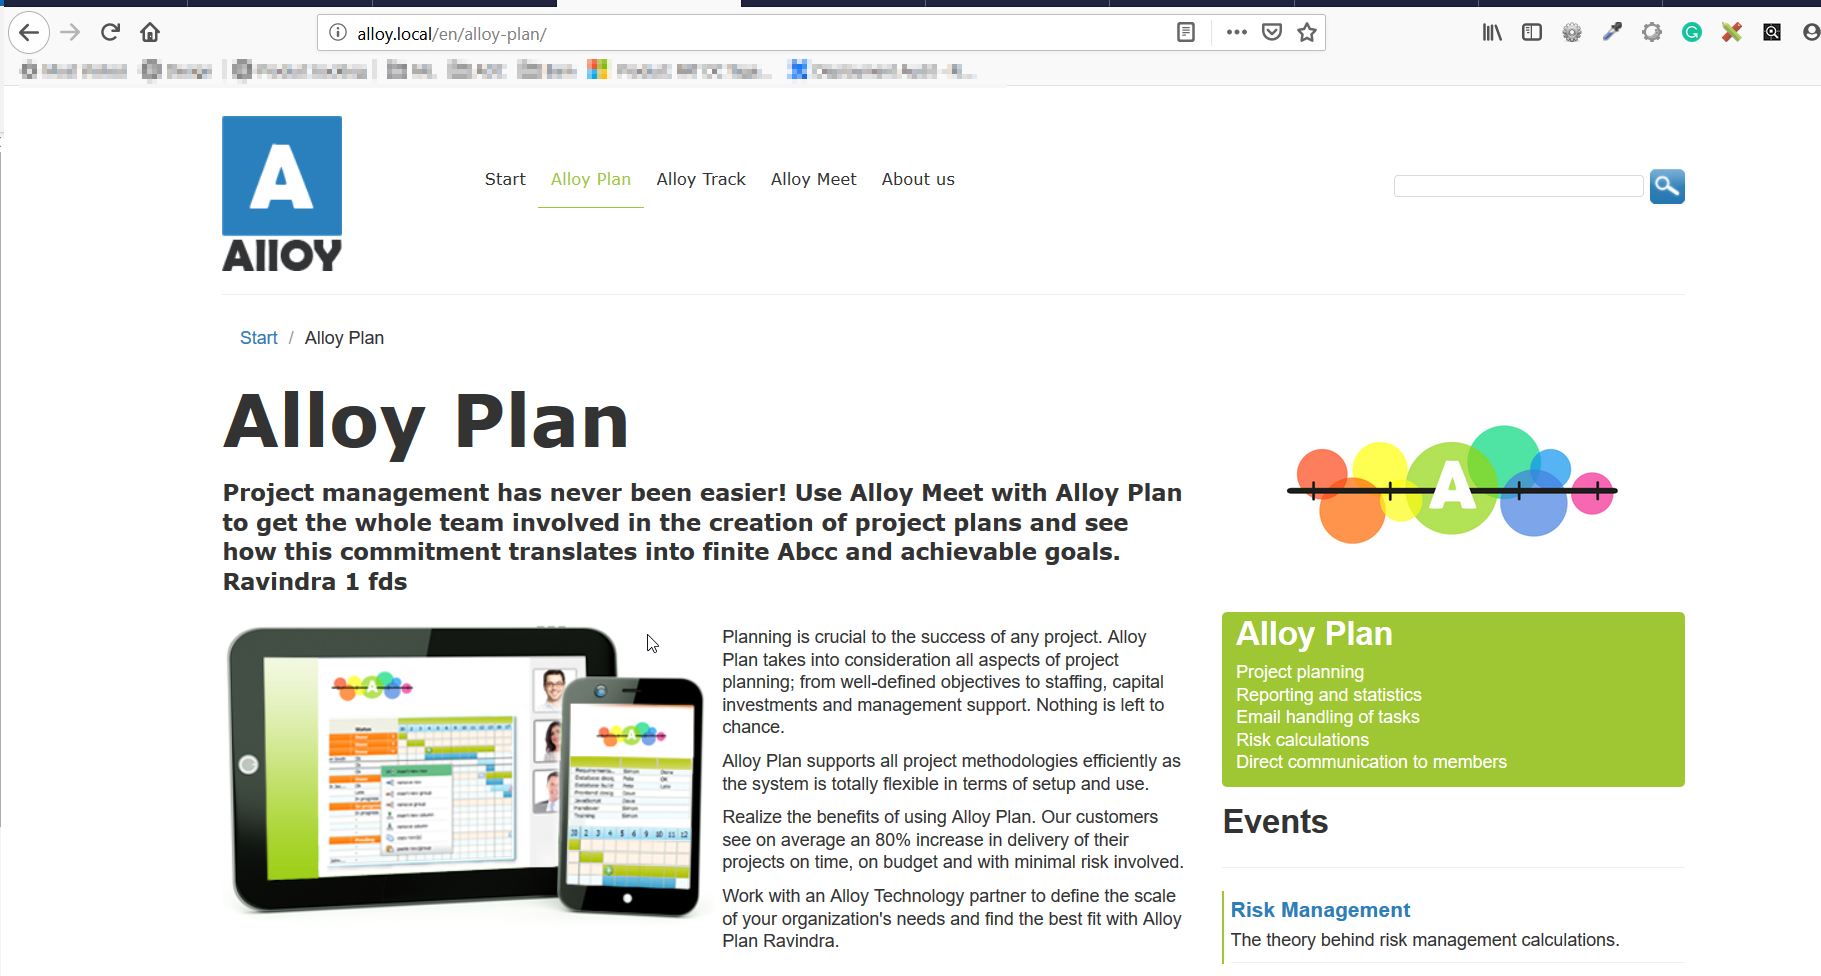
- That’s all. Run the site using the URL – http://alloy.local
One last thing you need a license to run the site properly so don’t worry it is free for the developer you can generate 30 days free license from here. Once it is expired then you can generate is again from the same URL.
Once you received the license please put this at the root of your website and you are done.
Happy Reading.
Thanks and regards
Ravindra S. Rathore